To schedule a post in Beamer, with or without an expiration date, start by creating your post content. On the right-hand side, you'll find the Publication Date and Expiration Date fields.
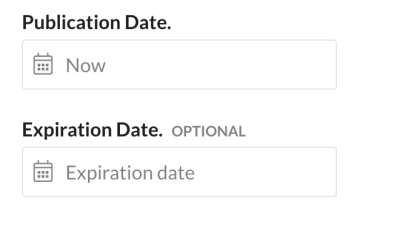
Set the desired publication date and time for the post to go live, then specify its expiration date and time. Posts automatically move to the Archive once they expire.
After configuring both dates, click Save and Schedule in the upper-right corner. A confirmation dialog will display your selected dates for review.
Click Accept to finalize scheduling; your post will publish and expire automatically according to your specified timeline.
Note: Scheduling and expiration apply to the entire post, not to individual placements. If a post is set to display as a persistent notification (e.g. a Topbar or Snippet) alongside the widget or standalone page, you can't schedule the persistent notification to disappear on its own — the expiration date removes the post everywhere at once. If you need a banner to disappear independently of the underlying Changelog entry, use a separate post for the banner notification.
When a scheduled post goes live
A scheduled post publishes at a single moment in time, the same moment for everyone. It does not publish at 9am in each reader's own timezone. If you schedule a post for 9am, readers in another timezone see it at whatever 9am in your timezone works out to for them.
Pro tip
Ensure your time zone settings are correct to avoid scheduling discrepancies, and always preview the post to verify that all elements are aligned before saving. Note the following differences in how the default time is set in the UI vs. API:
UI: Converts the user’s local time to UTC before saving.
API: Saves the date as-is (no time zone conversion; must add the
dateas UTC ISO-8601 format).
.png)