Announcements let you share product updates, new features, bug fixes, events, and more. They appear in your product's standard or custom Resource Center, and Userflow displays each Announcement with a notification badge when new content is available. For updates that require greater visibility, you can boost any announcement to make it stand out and capture users' attention. If you prefer to share an update discreetly, select the Silent option, and users will only see the Announcement when they actively access Announcements in the Resource Center.
You can also go beyond one-way communication by using Reactions and Comments to let users respond directly to your Announcements, providing qualitative feedback and sentiment data without the friction of a separate survey.
How to create and publish an Announcement
Step One: Add content and set the in-app notification level
Select Announcements from the sidebar and click Create announcement.
Enter a Name and click Create announcement.
For lengthy content, select Enable Read more to split the content into two parts and display a Read more button. Edit the button label if needed.
.png)
Choose Notification level:
Silent: For past announcements; doesn't appear as unread or affect the unread counter.
Badge: Displays a notification badge (i.e., an unread counter) on the resource center launcher, suitable for regular updates.
Boosted: More prominent announcement formats, suitable for high-impact messages. Within Boosted, you can choose:
Pop-out: Slides or fades in from an edge or corner, drawing moderate attention. The background isn't dimmed.
Modal: Appears center-screen, dimming the background behind it (the backdrop). Best for critical actions or urgent messages.
Toast: Brief notification that slides in from the side or bottom corner. Great for quick updates that don't need user interaction.
Does republishing an announcement make it appear as new?
No. Editing an announcement and republishing it does not mark it unread again for users who have already seen it, and that includes changing the notification level. Switching an older announcement from Boosted to Badge and republishing will not re-notify people who already read it.
If you need an update to reach people who saw the original, publish it as a new announcement.
Step Two: Set user feedback options
You can allow your users to contribute feedback directly on your Announcements with Userflow Reactions and Comments. Learn more about Reactions and Comments in the help article, User Feedback: Reactions and Comments.
Select User feedback in the left-hand panel and select the options on the right-hand panel.
Enable Reaction and Comment options as desired.
Enable delightful confetti for reactions, if desired, or edit placeholder copy for comment options.
.png)
Add a button to an announcement
You can add a button to an announcement to send readers somewhere specific — a page in your app, a signup form, or a Flow.
Open the announcement and click into the Content field.
In the toolbar, click + and select Button (to click on).
Enter the button label and choose what the button does.
Preview the announcement, then click Publish.
The same + menu also inserts an Attribute, Image, Embed, Columns, or a Container.
Note: this works differently from banner embeds, which have a visible Add button control beneath the banner. In an announcement, the button lives in the Content field's insert menu.
Building an announcement around an image
To show an image that sends people somewhere, build it from two blocks in the Content field rather than looking for a single image-button block:
Click + and insert an Image.
Click + again and insert a Button (to click on) beneath it.
Set the button's label and what it does.
Use Columns or a Container if you want the image and button grouped in a single panel.
If you don't want a notch. A Pop-out is drawn as a speech bubble tethered to the Resource Center launcher, so it has a notch pointing at it. Two ways around that:
Choose Toast or Modal instead. Neither is tethered to the launcher, so neither has a notch.
Keep the Pop-out and set your Resource Center's Launcher type to None. Boosted announcements then float in the position you configure, with no notch and no anchor. See Resource Center Implementation Guide.
Step Three: Set publishing options and publish the Announcement
Set Announcement time for immediate or scheduled posting. If you enter a future time, the announcement won't be visible to users until then.
Use the 'Only show announcement if' option in the left-hand panel to target specific users.
Preview the announcement in the right-hand panel, then click Publish when ready.
What does "Pending changes" mean?
Pending changes next to an environment, under Environment overview, means you've edited the announcement since you last published it there. Users in that environment still see the last published version.
To make your edits live, click Publish. The label goes away once that environment is up to date.
Advanced targeting: multi-instance example
Targeting by product instance without duplicating announcements
If your product runs multiple instances (e.g., separate environments, regions, or tenants), you can use a single announcement and target it to specific instances using an entity filter on a company attribute — without creating a separate announcement for each instance.
Scenario: Your product has 5 regional instances (US, EU, APAC, etc.). You want to announce a new feature to US instance users only.
Setup:
In your Userflow.js implementation, pass an instance or region identifier as a company attribute when calling
userflow.group():userflow.group(companyId, { product_instance: "us-production" })In the announcement builder, open the Only show announcement if panel (left-hand sidebar).
Add a condition: Company → product_instance → is → "us-production"
Publish the announcement.
Only users in companies where product_instance = "us-production" will see it. Users in other instances won't see the announcement — no duplicate announcements, no complex logic.
For multiple instances:
To target multiple instances at once (e.g., US + EU but not APAC), use "is one of" as the operator and add each instance value to the list.
Why this works: The "Only show announcement if" conditions evaluate company-level attributes for each user in real time. As long as your app correctly sets the product_instance attribute via userflow.group(), Userflow handles the targeting automatically — regardless of how many instances you're running.
Where announcements appear
Every announcement — including the boosted Pop-out, Modal, and Toast formats — is delivered through a Resource Center. For an announcement to display, its Resource Center must contain an Announcements block and be published. If that Resource Center is unpublished, the announcement will not appear — even a Toast or Modal — no matter how it is targeted.
Announcement format | How it displays | Needs a published Resource Center with an Announcements block? |
|---|---|---|
Pop-out | A speech bubble from the Resource Center launcher | ✅ Yes |
Modal | Center-screen overlay that dims the background | ✅ Yes |
Toast | Slides in from a side or bottom corner of the screen | ✅ Yes |
Important
All announcement formats, including Toast and Modal, require a Resource Center that contains an Announcements block and is published. An announcement can be live with correct targeting and still get zero views if its Resource Center is unpublished.
Which formats dim the background?
Only Modal. It's the format that puts a dimmed backdrop behind the announcement to hold attention on it. Pop-out and Toast both appear over your app with the background untouched, so there's no backdrop to turn on for them. If you want a boosted announcement with a dimmed background, choose Modal.
The Add backdrop switch in Themes is a different setting. It applies to steps inside a flow, not to announcement formats. Changing it won't add a backdrop to a Pop-out.
Which theme applies to an announcement?
It depends on where the announcement is showing:
Inside the Resource Center (opened from the Announcements block): it uses the Resource Center's theme, including that theme's custom CSS.
On its own as a Pop-out, Modal, or Toast: it uses the theme set on the announcement.
This is why custom CSS can look right on a boosted announcement but seem to stop working when you view the same announcement inside the Resource Center, including in Preview.
To style announcements inside the Resource Center, add the CSS to the Resource Center's theme:
Open the Resource Center and check which theme it uses.
Go to Settings > Themes and select that theme.
Add your rules under Custom CSS, then click Save theme.
If you want the same look in both places, add the CSS to both themes.
Show announcements without a visible Resource Center
If you want announcements to appear without showing a Resource Center launcher in your app, do not unpublish the Resource Center. Instead, keep it published and set its Launcher type to None. The Resource Center stays active so your announcements keep displaying, but no launcher button is rendered. See Customize how your Resource Center is launched for all launcher types.
Setting up announcement display
Create your announcement (Pop-out, Modal, or Toast).
In your Resource Center builder, add an Announcements block.
Configure which announcements appear in that block (all, or filtered by tags/criteria).
Publish your Resource Center. To keep announcements live while hiding the launcher, set the Launcher type to None before publishing.
Without a published Resource Center that includes an Announcements block, your announcements will be created but never displayed to users.
Announcement not showing? Quick checklist
If a published announcement isn't appearing for users, check these in order:
Is the Resource Center published? Every format — Pop-out, Modal, Toast — needs a published Resource Center that contains an Announcements block. An unpublished Resource Center is the most common cause of zero views.
Does that Resource Center actually contain an Announcements block? A published Resource Center with no Announcements block won't surface announcements.
Is the announcement time in the past? A future Announcement time means it won't show until then.
Do your targeting conditions match the user? Check the "Only show announcement if" conditions against the user's attributes (mind data types — string
"true"≠ booleantrue).Was it set to Silent? Silent announcements don't surface proactively — users only see them by opening the Resource Center.
Has the user already seen it? Once viewed, it won't re-surface as unread.
Boosted Announcements & Custom Resource Center Launchers
When you configure your Resource Center, you can choose an element in your app (e.g., a button, icon, or menu item) instead of the default Userflow button to launch the Resource Center. You can also opt not to anchor your Resource Center with any visible element by configuring it with the launcher type, 'None.' These options give you the flexibility to customize your users' experience so they can work seamlessly in your app.
Boosted Announcements will behave consistently, whether or not you use a custom launcher, no launch trigger, or the Userflow default. If you choose a custom element in your app, Boosted Announcements will appear with that element. If you choose 'None' as a launcher type, Boosted Announcements will appear in the place you configure them to appear on screen. Ensure Boosted Announcements don't interfere with other elements of your app when you customize the launcher experience.
Add the Announcements block to the Resource Center
Select Resource centers from the sidebar in Userflow.
Select your resource center or create a new one.
Add an Announcements block via Add block.
Drag and drop the block to position it in the desired location in the Resource Center.
Publish the updated Resource Center.
How Announcements display
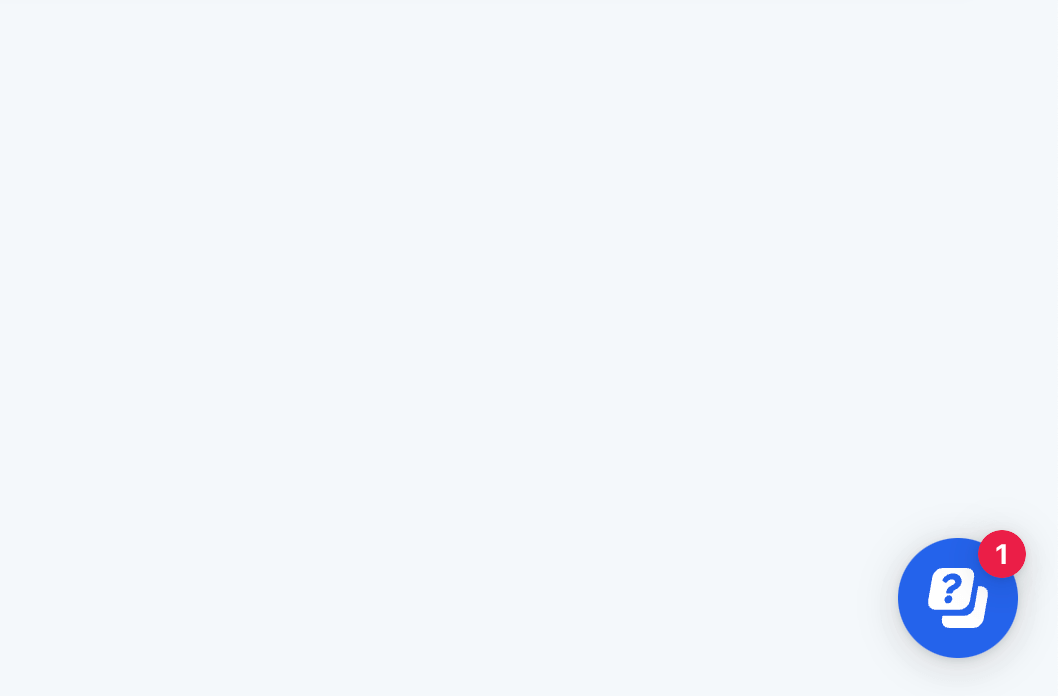
Users will see a notification badge showing the number of unread announcements in the resource center launcher.
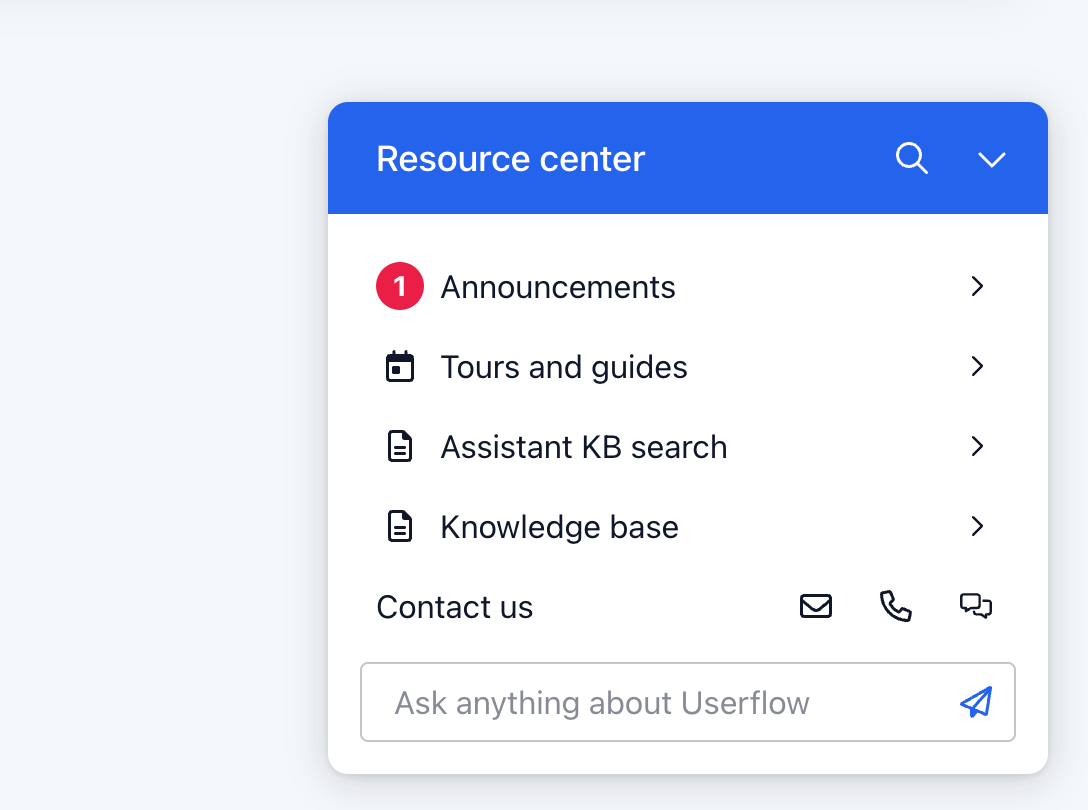
Inside the resource center, the Announcements block also displays this notification badge.
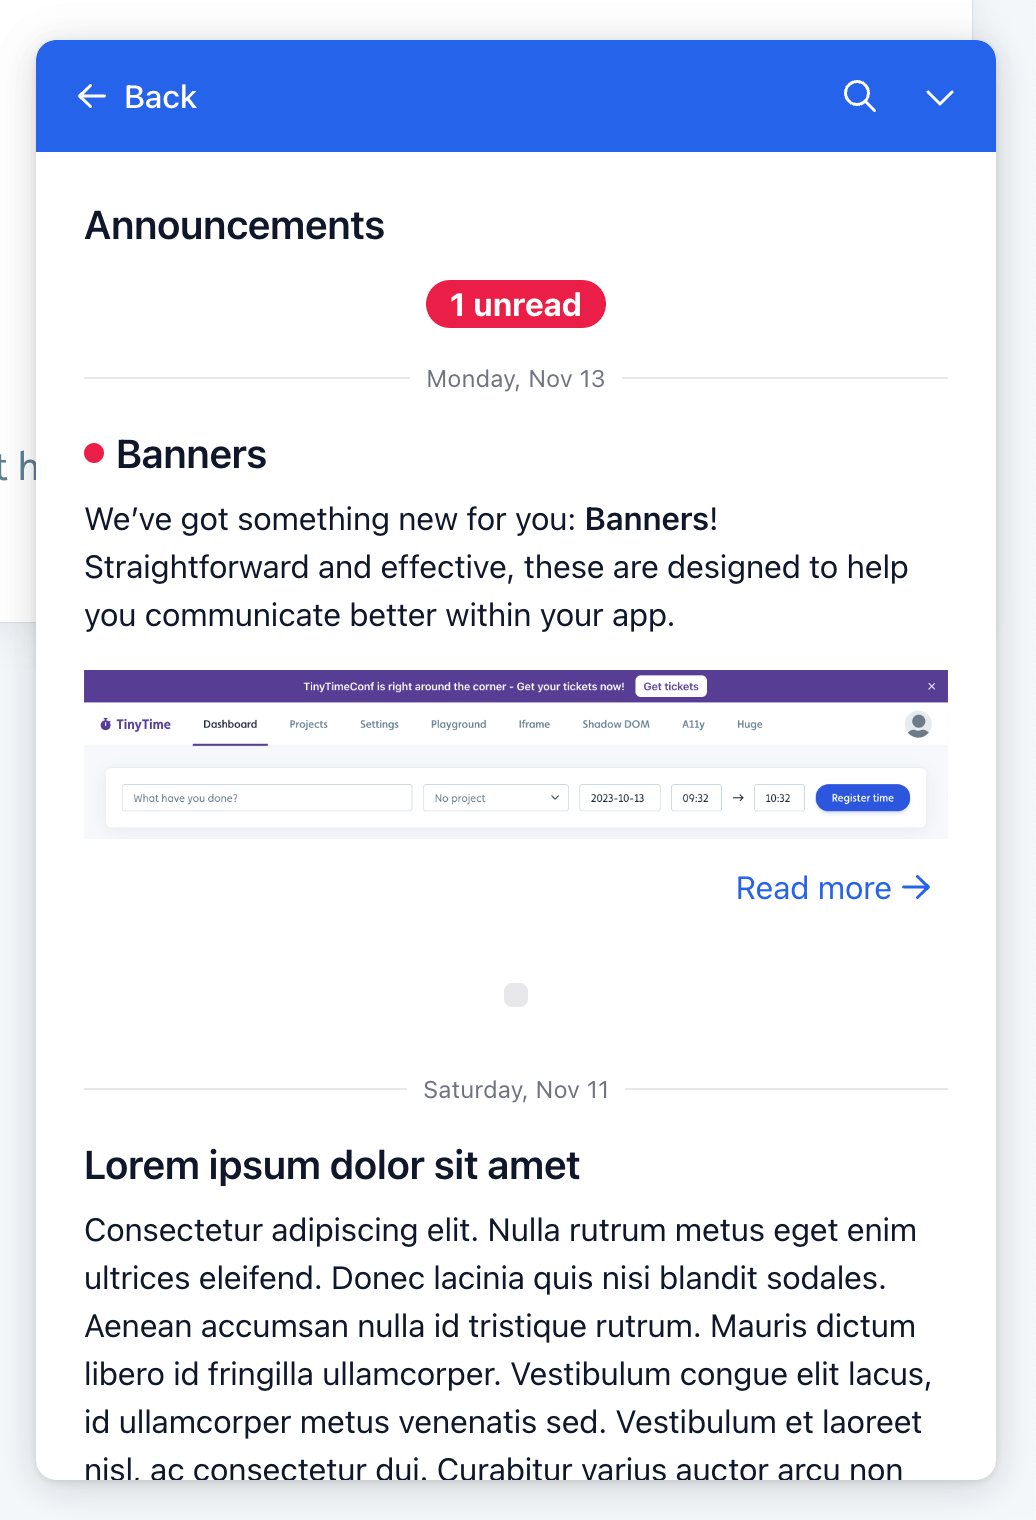
What order do announcements appear in?
Clicking the Announcements block reveals the list. Unread announcements come first, newest to oldest, followed by announcements the user has already read. Userflow marks announcements as seen when users scroll through them.
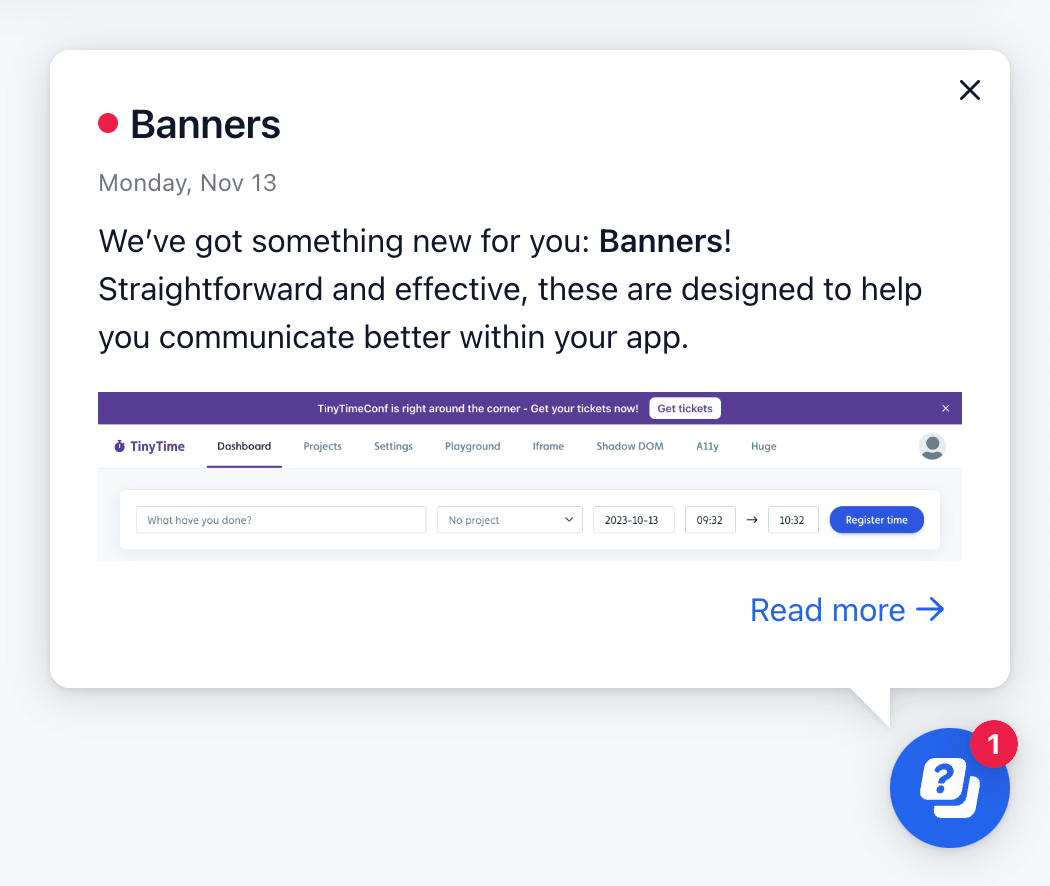
If an announcement is set to Popout, it appears as a speech bubble from the launcher.
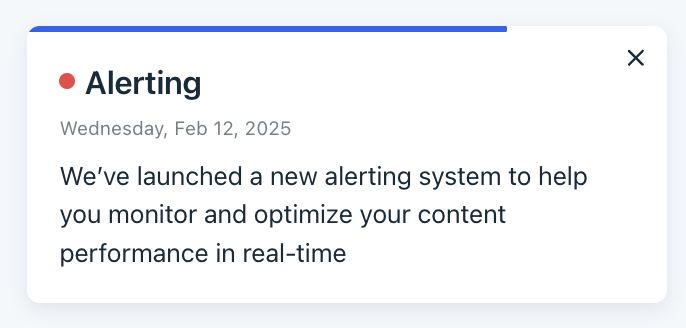
If an announcement is set to Toast, a small notification slides in from the side or bottom corner of the screen. By default, it stays on-screen until the user dismisses it, but you can enable an auto-dismiss feature to make it disappear after a short time.
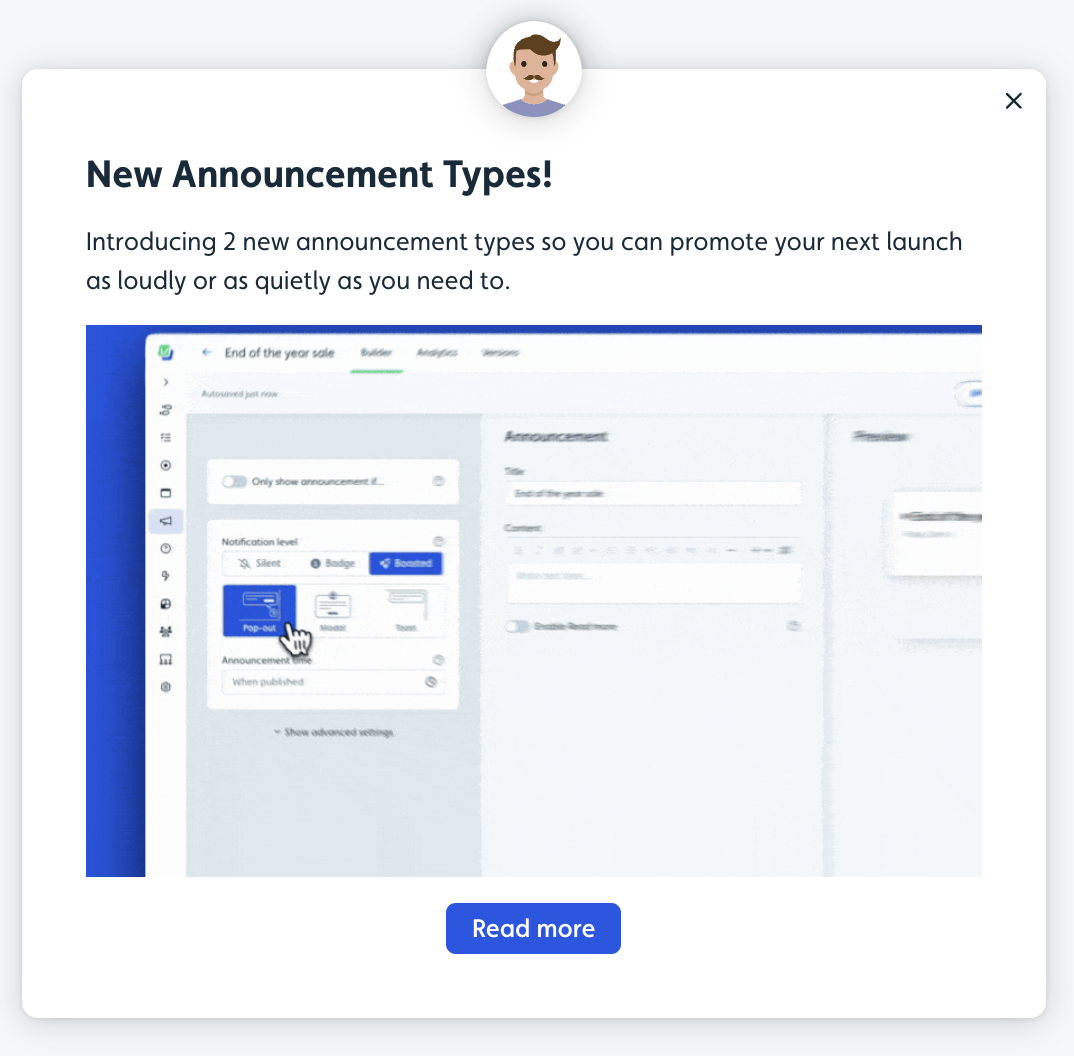
If an announcement is set to Modal, it displays in the center of the screen, ensuring the user's full attention. The user must typically interact with or dismiss the modal before proceeding.
Announcement Analytics
Announcement analytics show how many users viewed each announcement and, if you collect Reactions and Comments, how many reacted or commented. All three appear together in one stacked bar chart.
.png)
At the top of the analytics panel, you'll see three summary metrics at a glance:
Views — how many users have seen the announcement
Reactions — total reactions submitted
Comments — total comments submitted
These are plotted together in a single chart, stacked in this order:
Views at the base (blue)
Reactions above views (purple)
Comments on top (green)
Metrics are stacked to show the most accurate data.
This makes it easy to see not just how many users viewed an announcement, but how many took the extra step to engage — and in what way. You can quickly spot whether a particular announcement drove more emotional reactions, more detailed written feedback, or both, and compare that across announcements over time. Toggle between Day, Week, and Month views to track engagement trends at the granularity that works for you.
Each announcement shows its own totals for Views, Reactions, and Comments. Your dashboard shows the same three metrics added up across all announcements.
What announcement analytics can and can't tell you
Announcement analytics report Views, Reactions, and Comments. There is no built-in click or click-through metric, so a button you add to an announcement won't show clicks in the announcement's own analytics.
To measure whether people acted, track the click as an event instead:
Give the button a Track event action and select or create an event.
Read that event in Chart Builder, filtered to the period the announcement ran.
This gives you the click count the analytics panel doesn't, and lets you compare it against the announcement's Views.
See Track flow button clicks for what event tracking does and doesn't cover in announcements.